


Every inverter is indispensable because they supply us with electricity during power outages and during power outages. The process of installing an inverter setup at home is relatively easy, although there are still a few things you must watch out for. Here is a DIY guide for inverter installation at a home that you might find useful if you do not wish to get help from a professional.
Here Is How To Pick An Inverter To Home
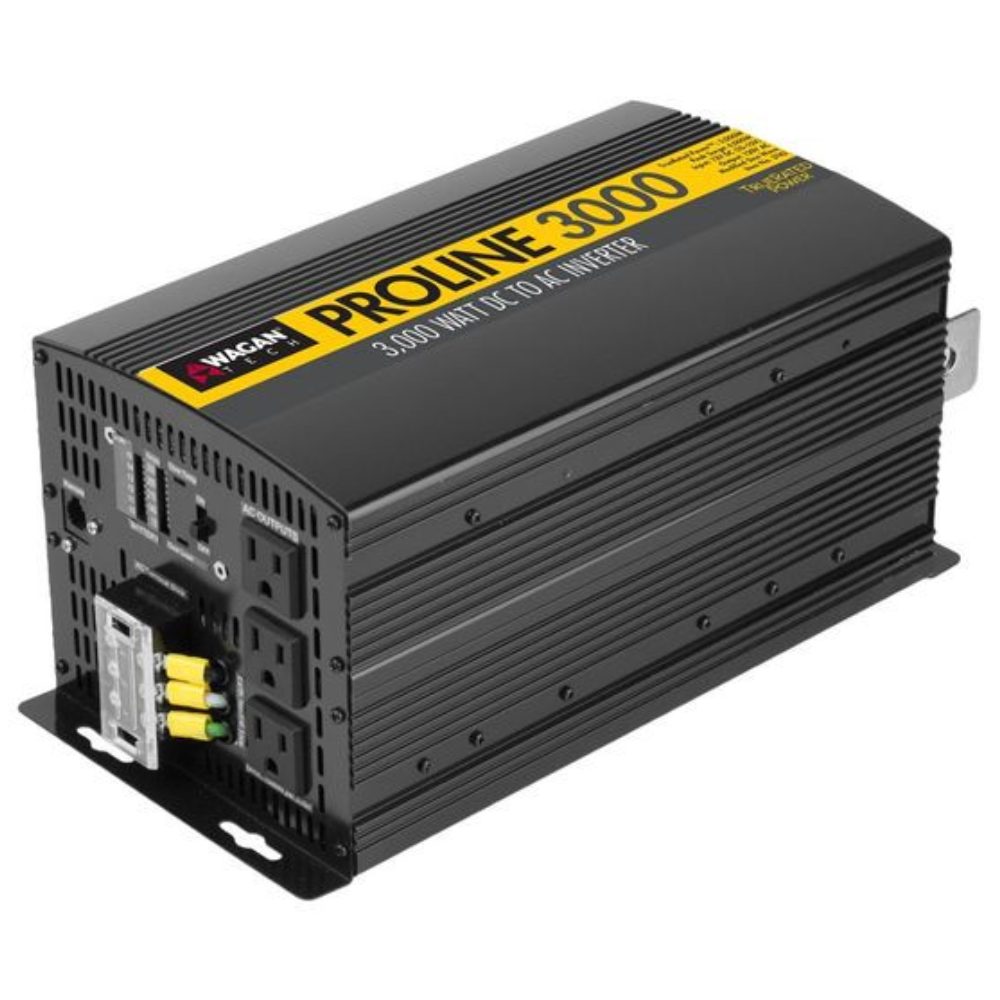
Image source : Pinterest
A device that converts electrical energy into alternating electricity can be best described as an inverter. Many of our household appliances use AC power. During a power outage, inverter backups supply the appliances with AC power. When buying an inverter, you have three options.
Pure Sine-Wave Inverter: It works according to the power demand equation. Depending on the current situation, a voltage setting can be modified. This type of inverter is ideal for houses and small businesses.
Modified Sine-Wave Inverters: Inverters that use pure sine wave technology do not provide as smooth a transition from one voltage to another as this inverter does.
Square Wave: It has the lowest efficiency of all the inverter types. Typically, it is used for basic appliances which require little power to restart.
How To Choose An Inverter?
Step 1: Measure The Power Consumption
Make a list of appliances that will provide you with power during an outage. Determine how much power each of the other devices will consume.
Make sure to include as many appliances as you can, including TVs, air conditioners, coolers, refrigerators, washing machines, and everything else you consider important.
Calculate the energy consumed by each of these appliances, and add them up.
In times of a power outage, this is the approximate amount of energy that your house would consume. After calculating, move to the next step.
Step 2: Understand The Necessary Capacity
Basically, the inverter's capacity indicates how much power it can handle and provide electricity. For homes, inverters between 756 and 1000 W are best suited.
Other types of inverters are available based on their capacity as well. You need to pick the right one depending on your needs.
Step 3: Choose The Right Battery Size
Inverters are powered by batteries. Their performance determines how well the inverter works and how much power is supplied to the appliances.
Calculate the period for which the inverter will run based on the total power demand during an outage.
Calculate the total power demand by multiplying the two numbers and dividing the result by 12, since an inverter operates at 12 V. This is your battery capacity, which is always expressed as Ah.
Inverter Installation Setup Guide for Homeowners
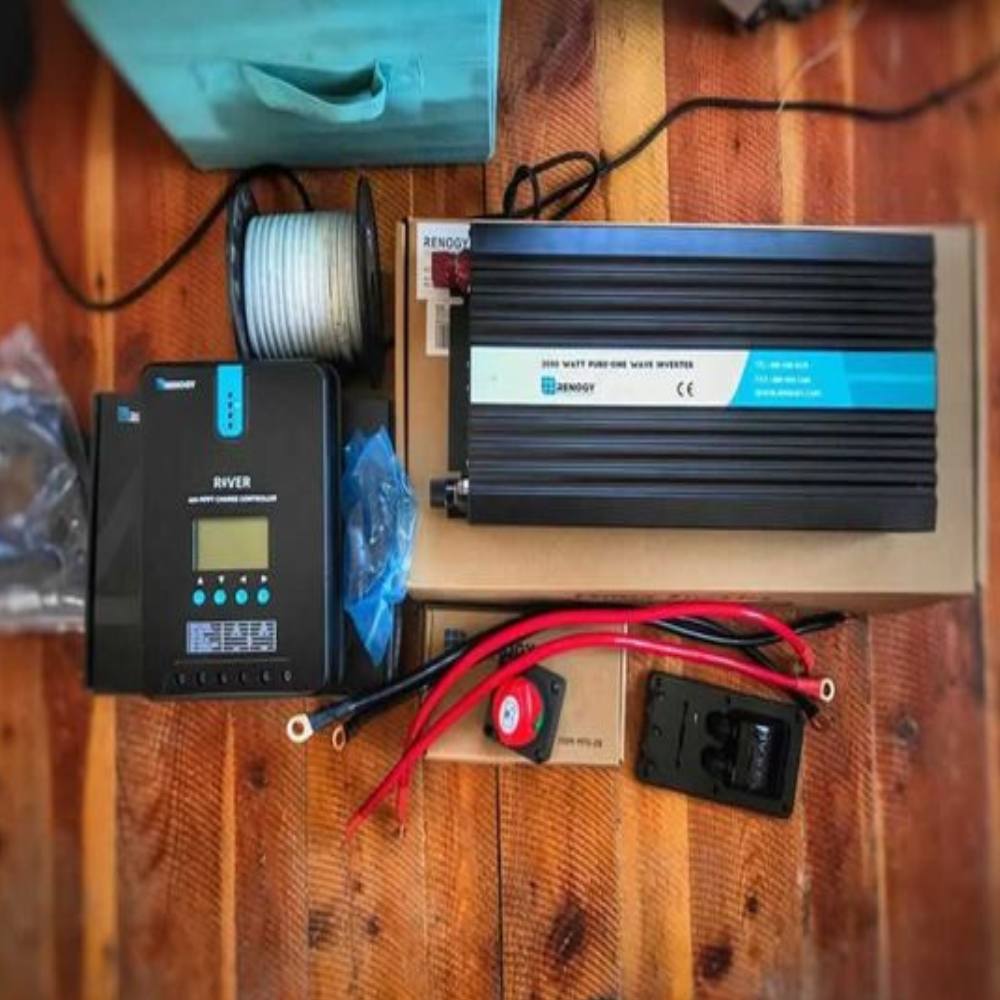
Image source : Pinterest
Here is a complete guide on how to setup an inverter at home:
Step 1. Pick An Appropriate Location To Setup An Inverter At Home
The first thing you need to do when installing an inverter at home is to choose the location where it will be installed. The following points will guide you in this respect:
- Inverters should not be placed near hazardous or flammable materials.
- They should also not be exposed to moisture.
- You should choose a location that is away from direct sunlight and in a dry area.
- The area should have adequate space surrounding it.
Step 2. Setting Up Or Mounting The Inverter
During inverter installation at home, mounting the inverter is the next step. You can do this by following the following instructions:
- It is possible to mount an inverter horizontally on a horizontal surface or on a vertical surface.
- Make sure its wheels are locked during battery installation to prevent it from moving.
- Install it on a wall that is perpendicular and not subject to vibrations. Never install it near any kind of flammable material.
Step 3. Installation Of Batteries
- To install the battery, you will first have to remove the four screws holding the rare panel to the main housing chassis. You should put the rear panel aside once it is removed.
- Lift the top lid of the main housing to reveal the interior side of the battery. In order for the battery to go through the front panel, its long side should extend through.
- In order to install the first battery, the positive terminal must be on the right side of the main chassis housing at the rear.
- The positive terminal of the second battery must be on the left side. Using the opening in the rear of the housing, lift up the battery carefully and slide it into the main housing.
Step 4. Make Sure You Connect The Battery Cable Properly
The battery cable will also need to be checked for connectivity. Make sure your battery is connected to the inverter through a low-resistance wire.
This is because the inverter requires a low voltage and a high current. This will enable electrical appliances connected to the inverter to receive the maximum amount of usable energy.
Step 5. Installing The Inverter
- The inverter assembly should be mounted on the housing chassis so that it faces forward. You should also remove power from the meter house.
- The electrical cable should now be connected to one end of the double-pole switch lighting circuit and the other end to the IEC connector on the Inverter Assembly, and then the input connector at the rear panel of the Inverter Assembly.
- The electrical cable from the load should be connected to the IEC connector, which is located on the rear panel of the Inverter Assembly, and then to the output connector.
- In addition, wiring from the batteries should be connected to the input connector on the rear panel of the inverter.
- Connect the Double-Pole Switch Lighting Circuit to the Electricity Board Meter and then turn on the board meter. It will automatically start the inverter.
Final Thought
You can now purchase and install an inverter on your own using the DIY guide for installing an inverter setup at home.
It is always advisable to consult a professional if you are unsure about the same. If you need an inverter installation setup or if your inverter isn't working, please contact the technician.
Frequently Asked Questions:
1. Is It Possible To Run My Inverter Continuously?
Ans. It is not recommended to completely drain the batteries of the inverters. Check whether inverters are being run more than necessary.
2. What Is The Maximum Operating Time Of An Inverter?
Ans. Inverters can operate for hours at a time. According to the size of the batteries and power requirements, they typically run for 3 hours to 8 hours.
3. When Should Inverter Batteries Be Changed?
Ans. The battery should be replaced when you notice deterioration. Check the batteries quickly to determine if they need to be replaced.